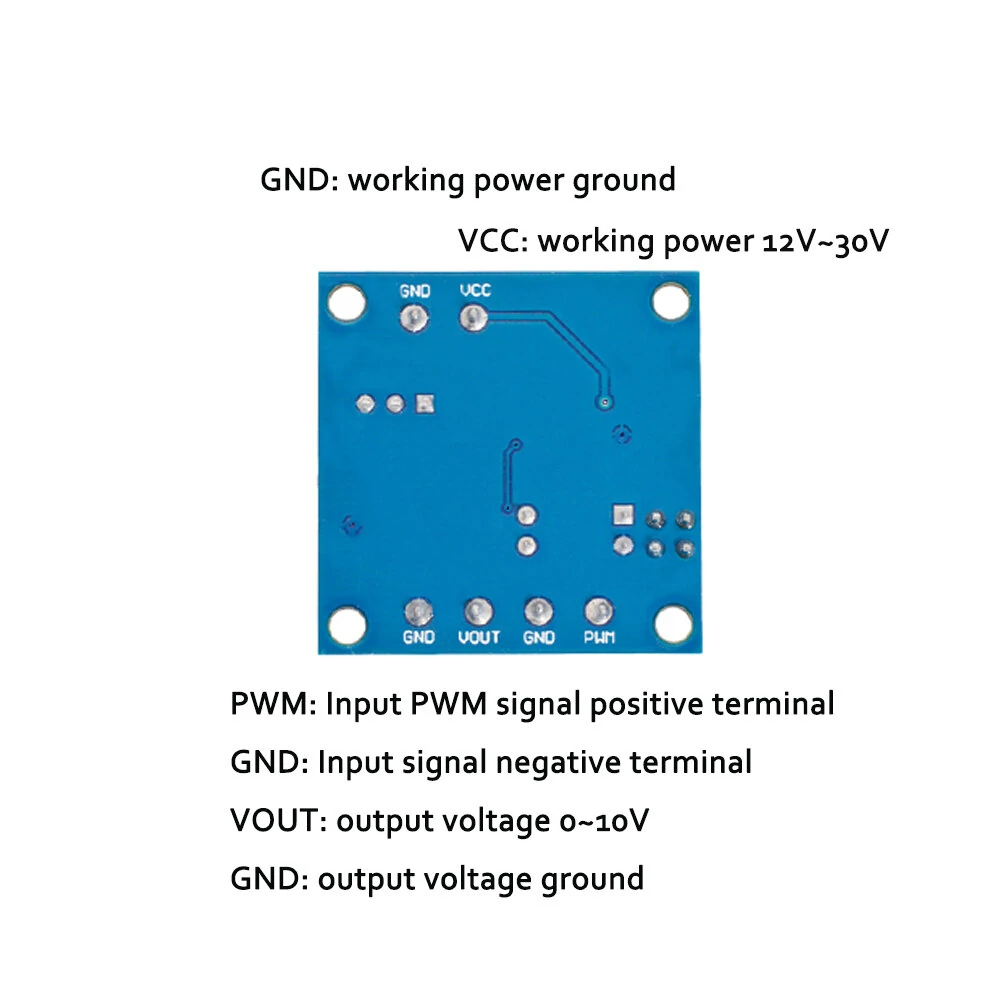
Specification:
Module working voltage: DC 12V~30V; (power requirements: greater than 100MA)
PWM signal receiving frequency range: 1KHZ~3KHz
PWM signal input range:
L: Peak 4.5V~10V level, the jumper is inserted to L. This type of level signal is mainly for the interface of the 5V CPU of the conventional industrial control card (such as MACH3 board);
H: Peak 12~24V level, the jumper is inserted to H, this type of level signal is mainly for the conventional PLC interface
Conversion range: 0%~100% PWM is converted to 0~10V voltage
Allowable error: 5%
Size: 33*32.8mm
Instructions for PWM to voltage conversion:
After power-on, when there is no input signal, the output is 0V, and there is input before output. It is best to do a calibration and debugging when powering on for the first time: find a signal with a 50% duty cycle and connect it to PWM, GND, the amplitude corresponds to the corresponding jumper, and the frequency is 1KHZ~3KHz. Use a multimeter to measure, VOT, GND two At this time, the meter shows about 5V, adjust the potentiometer on the board to make the multimeter display 5.00V, so that the corresponding relationship between your pulse signal and this module is calibrated. When the frequency changes, the correspondence may shift and requires recalibration.
The output voltage can be adjusted by adjusting the duty cycle.
Accuracy can be controlled by adjusting the potentiometer.

Related products
All Electronics Components
HW-685 – 4-20mA to 0-5v/10v Current to Voltage Converter Signal Conversion
All Electronics Components
AC/DC ESP-12F WIFI development board with single-channel relay module ESP8266
All Electronics Components
All Electronics Components
All Electronics Components
All Electronics Components
All Electronics Components
All Electronics Components


